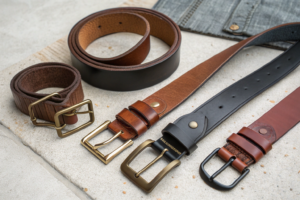
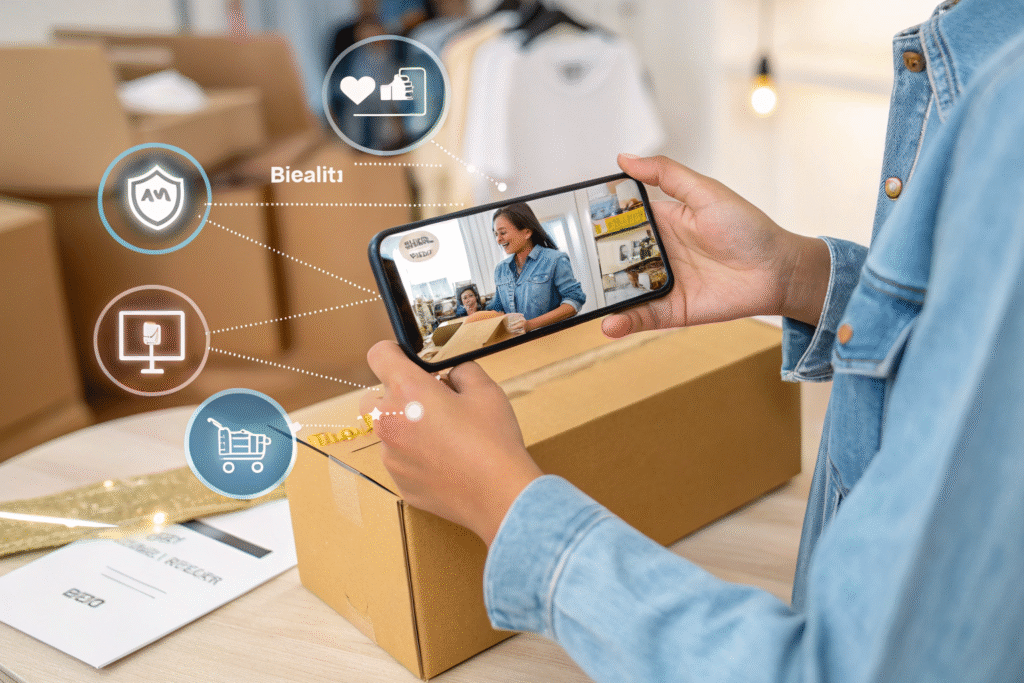
You've designed the perfect belt—innovative buckle, premium materials, impeccable craftsmanship. But a complex closure or a unique adjustable feature leaves customers confused, leading to returns and negative reviews. What if your customer could simply point their smartphone at the buckle and see a 3D animation guiding them step-by-step? This is the promise of Augmented Reality (AR) instructions, and it's moving from high-tech industries into fashion and accessories. But how do you, as a brand or buyer, practically source a product that comes with this digital layer?
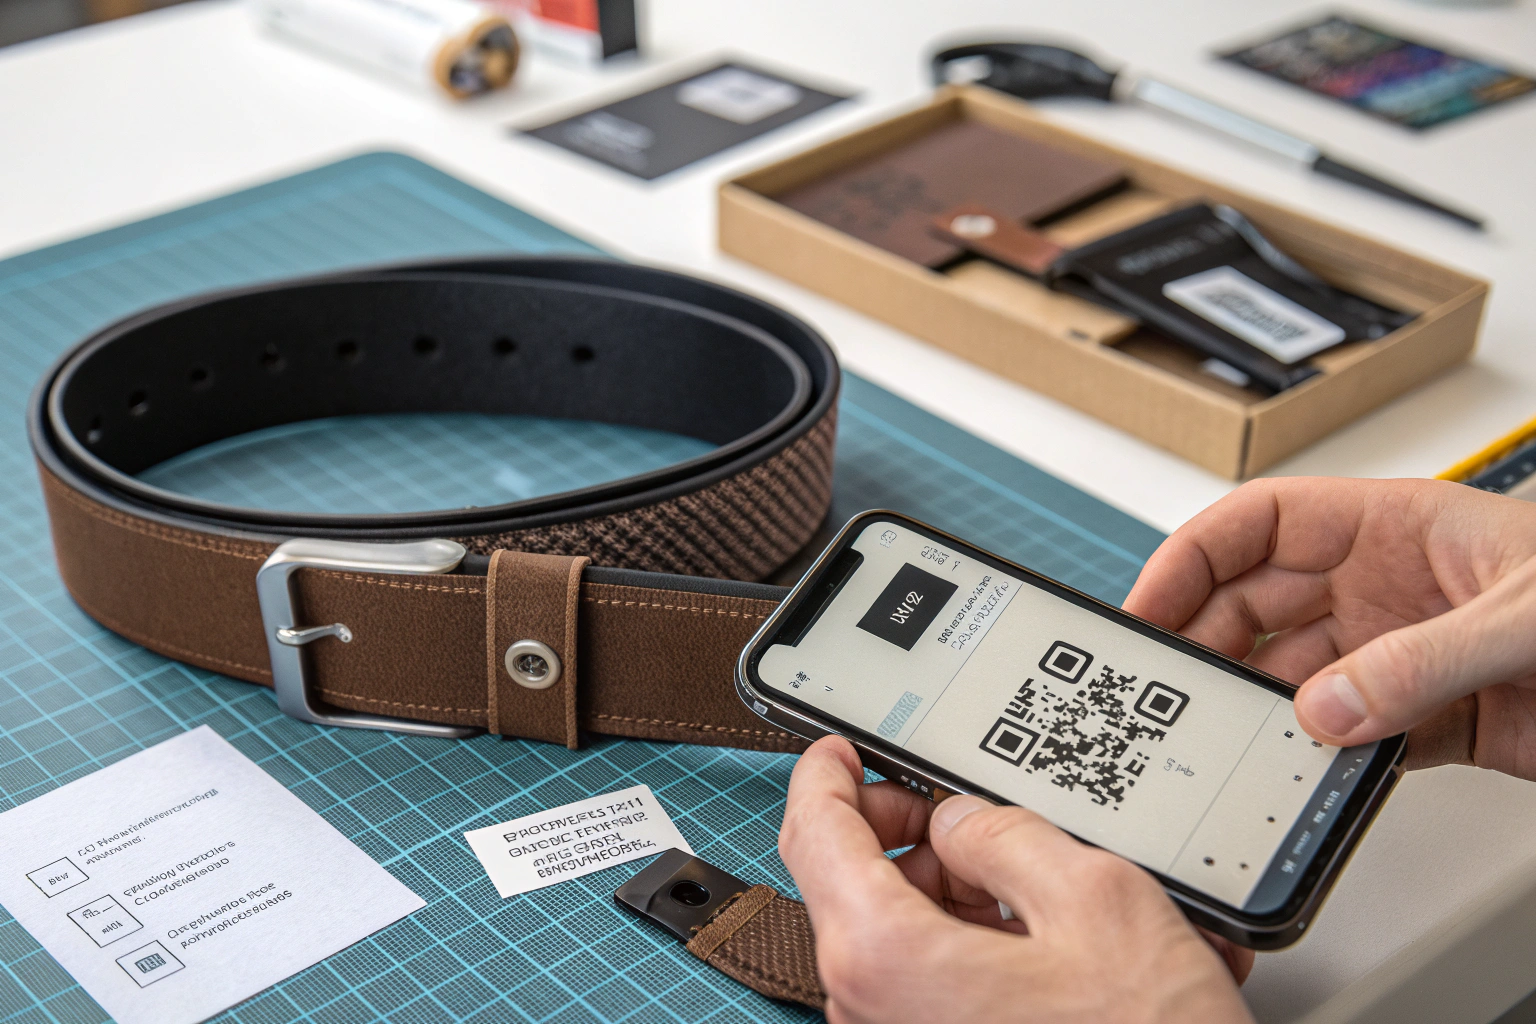
To source belts with AR instructions, you need to partner with a manufacturer that integrates 3D product design and AR development into their workflow, typically through a three-stage process: creating a high-fidelity 3D digital twin of the belt, developing and hosting the AR experience (app or web-based), and linking the physical product to the digital content via QR codes, NFC tags, or image recognition triggers embedded in packaging.
This isn't just about adding a tech gimmick; it's about solving real customer pain points, reducing support costs, and creating a memorable unboxing experience that boosts brand perception. Let's navigate the sourcing process step by step.
What Defines an AR-Enabled Belt Product?
An AR-enabled belt is a hybrid product, consisting of a perfectly manufactured physical item and a sophisticated digital asset. The true value isn't in the belt alone or the AR alone, but in the seamless connection between them. This requires a fundamental shift in how the product is documented and delivered.
An AR-enabled belt product is defined by three integrated components: 1) The physical belt and its packaging, designed with "AR markers" in mind (clean graphics, specific angles for recognition). 2) The digital 3D model of the belt/buckle, used as the foundation for animations. 3) The hosted AR experience itself, accessible via a stable URL or a lightweight app, which provides interactive, overlay instructions for assembly, adjustment, or styling.
What Are the Core Technologies for Triggering the AR Experience?
The link between physical and digital is critical. The main methods are:
- QR Code on Packaging: The most common and cost-effective. The customer scans a QR code on the tag or box, which opens a web-based AR experience in their phone's browser. No app download is needed (WebAR).
- Image Recognition: The AR experience is triggered by the camera recognizing a specific image on the packaging or even the product itself (like the unique pattern of the buckle). This is more seamless but requires more precise design and stable lighting.
- NFC Tags: A tiny Near-Field Communication chip is embedded in the hang tag or packaging. The user taps their phone to it, and the experience launches instantly. This feels premium and is highly reliable, adding a small cost per unit.
The choice depends on your budget, tech-savvy customer base, and desired user journey. For most fashion accessories, a well-designed QR code leading to a WebAR experience offers the best balance.
How Does the 3D Modeling Process Work?
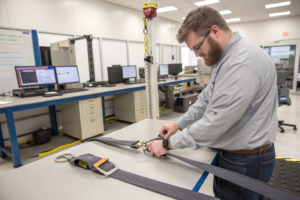
This is the most critical upstream step. Your manufacturer must create a photorealistic, dimensionally accurate 3D model of the belt, focusing on the interactive parts (the buckle mechanism, adjustment system). This is done using CAD files from the design phase or via professional 3D scanning of a prototype. This "digital twin" is then animated by a 3D artist to demonstrate actions: how to open an automatic buckle, thread a double-ring buckle, or use a slide buckle system. The quality of this model dictates the realism and usefulness of the AR experience. This process is rooted in product lifecycle management (PLM) but extended into the post-sale phase.
How to Find a Manufacturer with AR Integration Capability?
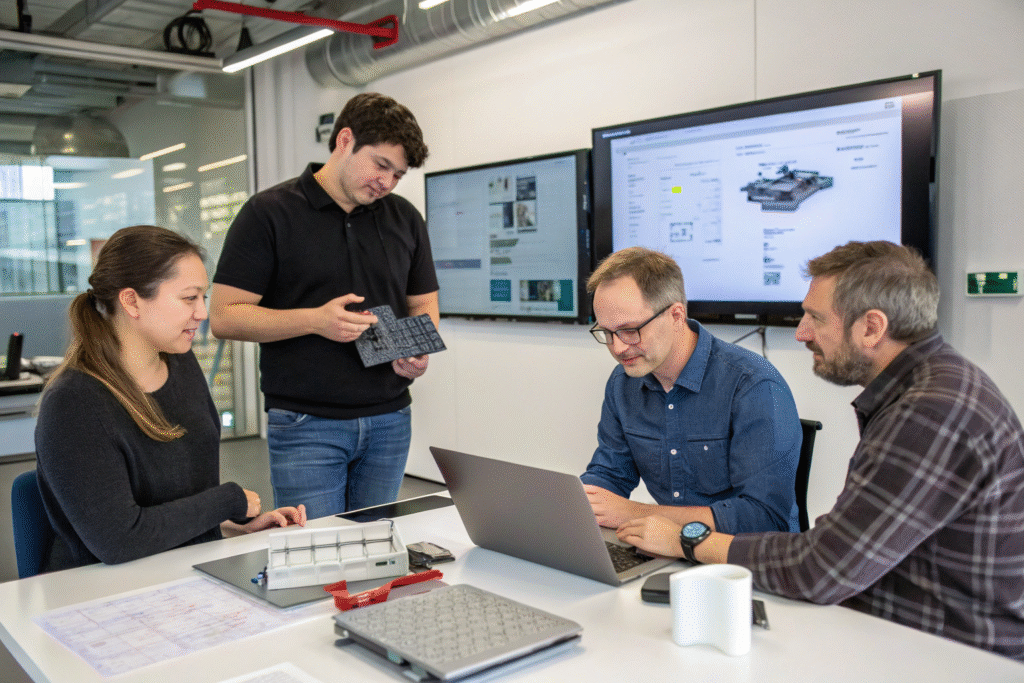
Most traditional belt factories excel at physical production but lack in-house 3D modeling and software development teams. Sourcing an AR-integrated product, therefore, means finding a manufacturer that either has built this capability or has established, reliable partnerships with digital agencies. Vetting for this hybrid skill set is your primary task.
Look for a manufacturer that demonstrates: an in-house or tightly partnered 3D design and animation team, a proven portfolio of AR projects (even outside fashion), a clear process for creating "digital twins" from physical samples, and an understanding of user experience (UX) design for instructional content. They should act as the project integrator, managing both the physical and digital supply chains.
What Specific Questions Should You Ask Potential Suppliers?
Go beyond "Can you do this?" Ask for specifics:
- "Walk me through your workflow from our physical sample to a functional AR demo."
- "What software do you use for 3D modeling and AR development?" (Common tools include Blender, Maya, Unity, or 8th Wall for WebAR).
- "Can you provide examples of AR triggers you've implemented (QR, NFC, image target)?"
- "How do you host and maintain the AR experience? What are the ongoing costs?" (Hosting on a cloud service like AWS or Azure is standard).
- "How do you integrate the trigger (e.g., QR code generation) into your packaging and quality control process?"
Their answers will reveal if they have a system or are figuring it out on the fly. A competent partner will discuss file formats, polygon counts for 3D models, and cross-platform compatibility (iOS vs. Android).
Why is Prototyping Different for an AR-Enabled Product?
The prototyping phase has two parallel tracks:
- Physical Prototypes: As usual, for fit, finish, and function.
- Digital/AR Prototypes: You will receive a link to test the AR experience on your phone. You must rigorously test this with the physical prototype in hand. Does the animation match the physical mechanism perfectly? Are the instructions clear? Is the trigger (QR code) reliable? This iterative feedback loop between the physical and digital is crucial. Expect to approve both a final production sample and a final AR experience version before mass production begins. This adds time but prevents a disconnect that would render the AR useless.
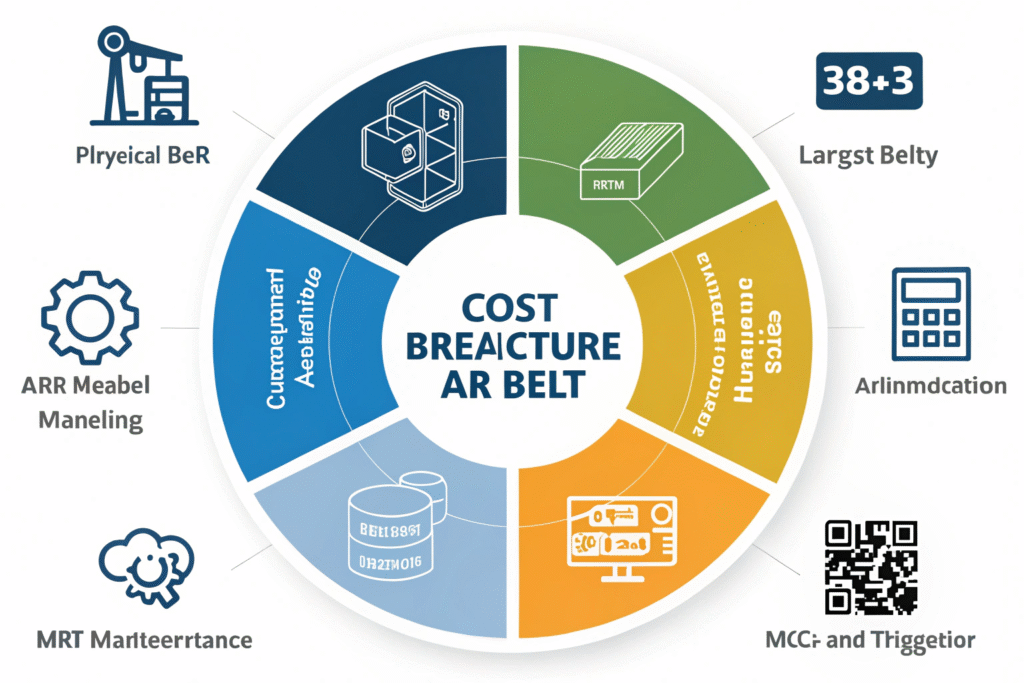
What Are the Cost Structure and Key Considerations?
Adding a sophisticated digital layer introduces new, upfront development costs and potential ongoing fees. It's not a simple per-unit surcharge like a different buckle finish. Understanding this cost structure is vital for budgeting and ROI calculation.
The cost structure includes significant Non-Recurring Engineering (NRE) costs for 3D modeling and AR development, a marginal increase in per-unit costs for trigger integration (e.g., NFC tag printing), and potential ongoing annual fees for cloud hosting and maintenance of the AR experience. The value is offset by reduced customer support, fewer returns, and enhanced brand equity.
How Should You Budget for the NRE and Ongoing Costs?
Break down your budget into clear line items:
| Cost Component | Description | Typical Nature |
|---|---|---|
| 3D Model Creation | Creating a high-quality, animatable digital twin of the buckle/strap. | One-time NRE fee per buckle design. |
| AR Experience Development | Programming the interactive steps, animations, and user interface. | One-time NRE fee per experience. |
| Trigger Production | Generating unique QR codes or sourcing & encoding NFC tags. | Per-unit cost (minimal for QR, higher for NFC). |
| Cloud Hosting | Storing the AR experience files and serving them to users globally. | Annual or monthly subscription fee. |
| Maintenance & Updates | Updating the experience for new OS or fixing bugs. | Annual retainer or per-update fee. |
A factory should provide a transparent quote separating these digital costs from the bill of materials (BOM) for the physical belt. The largest investment is the first one; adding AR to subsequent belt styles that use the same buckle mechanism will be cheaper.
What Are the Logistical and Compliance Implications?
You are now shipping a "connected product." Consider:
- Packaging Design: Must accommodate the trigger (QR code space, NFC tag placement) without compromising aesthetics.
- Data Privacy: If using a custom app (less common), you may need to consider data privacy regulations depending on what, if any, data is collected.
- Long-Term Responsibility: Who is responsible for keeping the AR link alive for 5+ years? This should be defined in your contract with the manufacturer. A best practice is to use a branded, stable URL that you control.
- Quality Control: QC checks must now include verifying that the correct QR code/NFC tag is paired with the correct belt style and that the linked AR experience is live and accurate.
What is the ROI and How to Market the Feature?
The investment in AR must be justified by a return. This return is often less about direct sales uplift and more about cost savings and long-term brand building. Marketing this feature correctly is essential to capturing its full value.
The ROI for AR instructions comes from: a significant reduction in customer service inquiries and costs related to product use, a decrease in return rates due to customer confusion (particularly for innovative buckles), increased customer engagement and brand recall, and valuable content for social media marketing. It positions your brand as innovative and customer-centric.
How to Quantify the Reduction in Support and Returns?
Work with your manufacturer to build a case. For example:
- Baseline: Without AR, 15% of customers contact support about buckle operation, and 5% return the item citing difficulty of use.
- Projection: With clear AR instructions, you might aim to reduce support contacts by 60% and related returns by 70%.
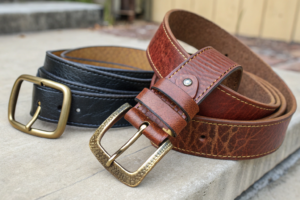
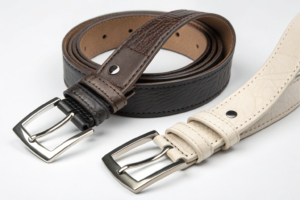
Calculate the cost of a support ticket and the cost of a return (restocking, shipping, potential loss of item value). The savings from avoiding hundreds or thousands of these incidents can quickly offset the NRE development cost. This is a powerful value proposition for complex products like ratchet belts, reversible belts, or belts with multi-tool buckles.
How Should You Integrate AR into Your Marketing?
Don't hide the feature; make it a centerpiece.
- On Product Listing: Include "Includes Interactive AR Instructions" as a key selling point. Show a short video/gif of the AR in action.
- On Packaging: Use clear call-to-actions: "Scan to Learn" with an icon.
- Social Media & Ads: Create short, captivating videos showing the magic of pointing a phone at the product to see it come to life. This is highly shareable content.
- Post-Purchase: In the thank-you email, include the link to the AR experience to build anticipation.
This turns a utilitarian function into a brand experience that customers will remember and talk about, giving you an edge in a competitive market.
Conclusion
Sourcing belts with augmented reality instructions is a forward-thinking strategy that addresses tangible business problems—high support costs and product returns—while delivering a wow factor that elevates brand perception. It requires a shift from viewing manufacturing as purely physical to embracing a digital-physical hybrid model.
Success hinges on finding the right manufacturing partner with integrated capabilities, understanding the new cost structure, and strategically marketing the feature to maximize its ROI. For brands selling innovative, complex, or premium accessories, AR instructions are not a distant future technology but a practical, available tool to enhance customer satisfaction and operational efficiency.
If you are developing a belt with unique features that deserve clear explanation, or if you want to lead the market in customer experience, our factory is equipped with the 3D design and AR development partnerships to bring your hybrid product vision to life. Contact our Business Director, Elaine, to start a conversation about integrating AR into your next collection: elaine@fumaoclothing.com. Let's build products that truly connect.